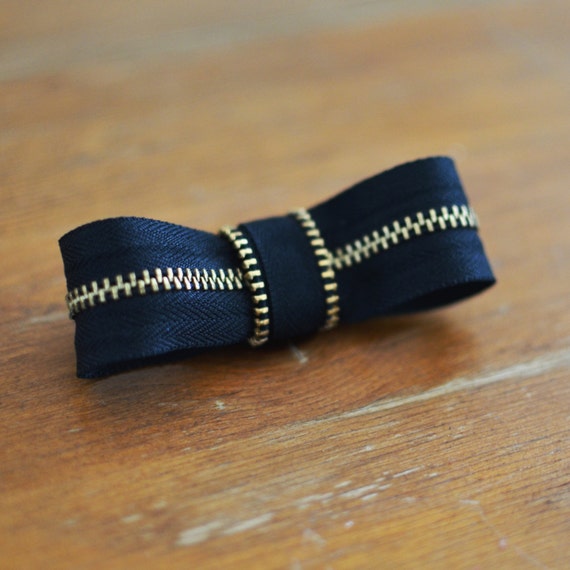
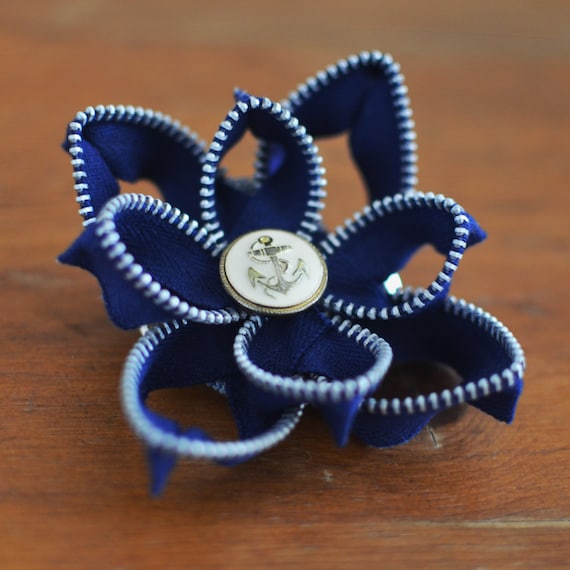
Hello World! Can Can Dancer has moved. Please visit www.cancandancer.com to see new DIY posts (and all past posts too!). Happy Crafting!
Showing posts with label handmade. Show all posts

Rings, earrings, and so many more pretty things! (Now on Etsy)

Hello World,

Last week I sold my last listed ring on Etsy, and was a busy little bee this week making so many new goodies. I have expanded my store to sell other items besides zipper flowers, including: rings, bobby pins, earrings, and I just listed my first necklace!

I also bought my first can of chalkboard paint last week and have been painting up a storm. (Project post coming soon.) I repainted an old chalkboard and absolutely love using it as a background for my Etsy photos. My jewelry pieces just pop so well against the black!

Mint Chrysanthemum Ring with Adjustable Filigree Band - So pretty and bright for (almost) spring!
Bohemian Spirit Brass Necklace - I am OBSESSED with this necklace. Maybe it's because of my inner gypsy.
Mint & White Chrysanthemum Bobby Pins - If I could work a top knot I would totally pair these with one.
Bright Purple Zipper Earrings - I made so many pairs of these in different neon colors. I think they are so fun!
Happy Crafting (and Etsy-ing!)

Etsy Treasury- February Neutrals

Hello World,

I can spend hours on Etsy just browsing for handmade goodies and gaining inspiration. While my house is plastered with pink and red decorations, I must say the rustic/neutrals are really staring to grow on me. Below is my latest Treasury:

'Ti Amo' by Laura Olphie

Burlap Bunting Banner, "...
$23
open heart knuckle ring,hear...
$11
Heartbeat Charm Necklace, Go...
$30
Large rustic Twigs heart dec...
$7
Be Mine Mug // Long Distance...
$17.95
Hammered Heart Earrings, Lon...
$32
Wedding Garland, Gold Heart ...
$12
Valentine Decor - Wood Slice...
$40
Mini Wooden White Heart Shap...
$6
Painted Cork Coaster Set of ...
$15
Leather Journal with Heart L...
$25
PATCHOULI Votive Candles (4)...
$8
Personalized Heart Pillow / ...
$13
nesting hearts
$14
PRE-ORDER: 8.5x11 To Love an...
$25
Green Jersey and Cream Lace ...
$65


Happy Crafting (and online shopping)!

PS- Today marks the one month mark until my 24th birthday... Feels like just yesterday I was in elementary school mass-signing Disney character valentines for my classmates and receiving them in my carefully constructed construction paper and scented marker decorated envelope.

Oh hey, he gave me a lollipop along with this Lion King Valentine? He MUST like me. Better chase him on the playground at recess later. #ElementarySchoolReasoning (And in all reality his mom made all his valentines for him.)


DIY Slipper Socks

Hello World,

Need a last minute gift idea? Or just want to make a little something for yourself? I made my own slipper socks with scrap fabric and a thrifted sweatshirt, making this a very inexpensive DIY project.

Check out the tutorial below:


1. Gather your materials: decorative fabric for the top of the slipper, a thicker fabric (to make these extra cozy! I used a thrifted sweatshirt), pins, scissors, a sewing machine (or needle and thread).

2. Make your own pattern by tracing your foot, or use the pattern pieces I used. Download them here.

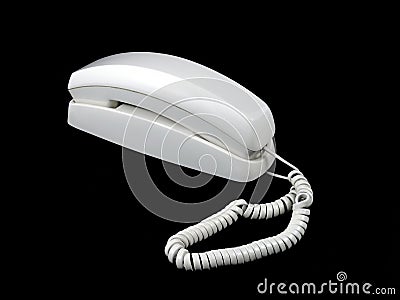
3. Fold your decorative fabric in half, wrong sides together. I used a stretch knit, so I didn't worry about the grain. Place the first pattern piece (the one that looks like a 90's telephone- see the slight resemblance?) down along the fold. Pin and cut.

4. If you add a half inch of seam allowance around all the pattern pieces, you will roughly end up with a size XL Women's slipper sock. If you don't include seam allowance, roughly a size L. For those with smaller feet, just trim the pattern pieces accordingly to fit your foot size.

5. Place the first pattern piece on your thicker fabric along the fold. (I used the sleeve of my sweatshirt.) Pin and cut.

6. Place your second pattern piece (the one that slightly resembles a foot) down on your thicker fabric. Pin and cut through two layers of fabric at the same time. The reason for this is because you will notice the second pattern piece is asymmetrical. This is to accommodate the big toe. Cutting through both layers at the same time helped it so I didn't end up with two left feet.

7. Repeat steps 3-6 for the cutting out the other slipper sock. When cutting out your second pattern piece this time around though, place the pattern piece right side down on your fabric (so you end up with both feet). You will end up with four pieces per slipper sock, these will make the liner and the shell.

8. Fold your top pieces in half, right sides together. Pin the heel areas closed and sew.

9. This will leave you with asymmetrical loops of fabric.

10. Place your liner fabrics right side together on top of each other.

11. Pin around the entire edge of your pattern pieces.

12. When you get to the heel area, you will have excess fabric. Pinch and pin the heel area down to the second pattern piece. 

13. At this point your work will start to resemble a slipper sock!

14. Sew around the entire circumference of your slipper sock.

15. Repeat pinning process with the shell fabric pieces.

16. Place your liner piece inside your shell piece, right sides together.

17. Sew them together, along the ankle area. Leave a small gap near the back seam.

18. Turn your slipper sock right side out via the hole you left.

19. Push your liner into your shell, and sew the hole closed.

20. Repeat with the other slipper sock.

Tada! You have some custom-made slipper socks! If you are worried about slipping while wearing them, just take puffy paint and add some dots to the sole of your slipper socks. (My mom used to do this on my socks when I was little.)

Happy Crafting!


Hello Again Etsy

Hello World,

I have been a busy little bee, making zipper flowers like crazy. Today, I added more than 25 one-of-a-kind pieces to my Etsy shop. Check out some of my favorites below:


Happy Crafting!


Etsy Sneak Peek

Hello World,

I finally bought myself a Nikon D5100, and no longer will be taking photos for the blog with my phone! :) My first task with my new camera was to take photos of all my handmade accessories, so I can get my Etsy shop back up and running.

Here are some sneak peeks of what will be hitting Etsy soon. I just need to finish all the product descriptions.


 Happy crafting!