Hello World! Can Can Dancer has moved. Please visit www.cancandancer.com to see new DIY posts (and all past posts too!). Happy Crafting!

Color Block Pinecones

Hello World,

Instead of doing an image-based tutorial (like I usually do), I have decided to mix things up and make a video tutorial. For my first video tutorial, I decided on doing a simple DIY project, so I get more comfortable with filming myself.

Check out the tutorial below to see how to make some color block pinecones. And don't forget to subscribe to my channel to see more tutorials the future:


Happy Crafting!

Hello Again Etsy

Hello World,

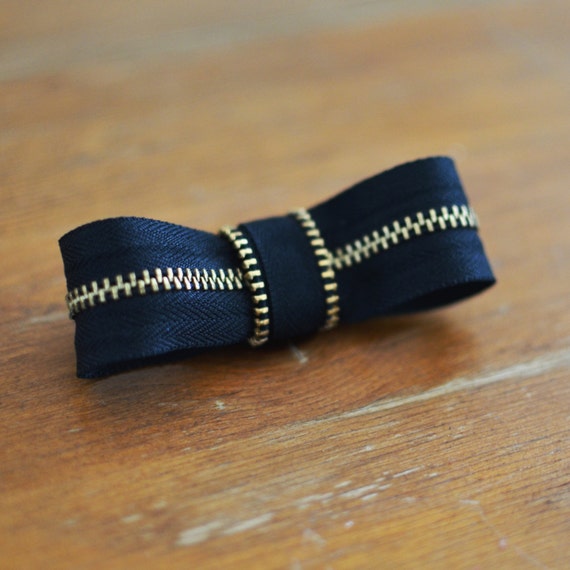
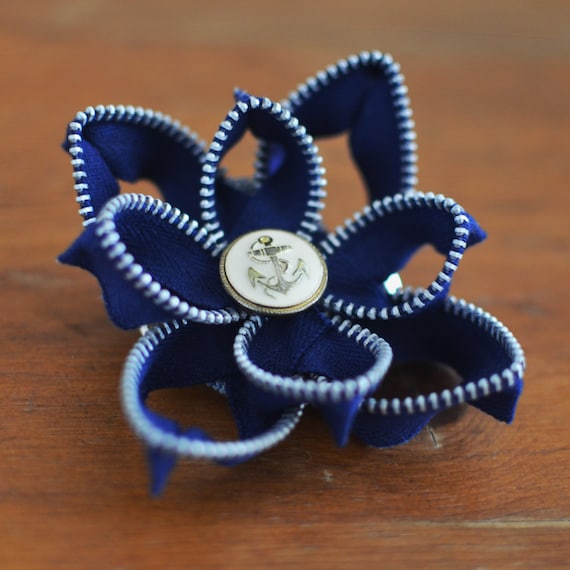
I have been a busy little bee, making zipper flowers like crazy. Today, I added more than 25 one-of-a-kind pieces to my Etsy shop. Check out some of my favorites below:


Happy Crafting!


DIY Lined Zipper Pouch + Freebie Friday

Hello World,

Today I have both a tutorial and a giveaway for you! Check out the tutorial below to learn how to make your own customizable zippered pouch, and enter the giveaway to win the one featured in this tutorial:


1. Gather your supplies: fabric, a zipper, scissors, acrylic or fabric paint, a foam or paintbrush, freezer paper, an iron and ironing board, and a sewing machine or needle and thread.

2. Cut out 4 rectangles of fabric that are the same length as your zipper.

3. Fold the top edge of each rectangle over 1/4" inch and iron flat.

4. Cut a strip of freezer paper. This will be used to make your stencil.

5. Cut your designs out of your freezer paper. If you draw on your freezer paper, draw on the matte side of the paper, not the shiny side.

6. Iron your freezer paper onto your fabric, shiny side down.

7. Paint gently within each freezer paper stencil. Be careful around your edges, so paint doesn't leak out of your stencil.

8. Allow to dry and gently remove your contact paper. Iron both sides of your design to set the paint.

9. Sandwich one edge of your zipper (right side up) in between two rectangles of fabric (wrong sides together).

10. Sew through all three layers (fabric shell, zipper, fabric liner).

11. Repeat steps 9 and 10 for the other half of your pouch.

12. Now that everything is sewed to your zipper, unzip your zipper. Fold your shell on top of your other shell fabric piece. This places your two shell pieces on top of each other, right sides together, and does the same with your liner pieces.

13. Sew around the edges of your entire rectangle, leaving a gap on the liner edge.

14. Turn your bag right side out via the gap in the liner.

15. Sew this gap closed, and push your liner into the body of your pouch.

16. Tada! You have made your own lined zipper pouch!

I used the same fabric for the liner and the shell of this pouch, but using coordinating fabric would work great too. Use this type of pouch as a makeup bag, pencil case, mini iPad case, etc.

PS- Remember the giveaway I mentioned? Well, enter below and one winner will receive this chevron pouch, handmade by yours truly. Giveaway ends next Friday, November 22nd.

Happy Crafting!


a Rafflecopter giveaway

Fa La La La La

Hello World,

From my last blog post, we have established that I love Christmas decorations.

I love DIY holiday decor, but I also love a good sale. So I wait to buy my holiday decor until the week after Christmas. My first stop is always Target, where decorations are marked +75% off. Yes, most of the really pretty ornaments are usually gone by Christmas, but you would be surprised by all the goodies marked down to clearance! After Target, I run to Michael's, Shopko, and pretty much anywhere else having a sale.

And with that, here is the process of how I decorated my petite tree this year:


At Michael's, they mark a bunch of their custom floral department ribbon way down after Christmas. I bought a 50 yard spool of ribbon for only $6.99.


Tree topper I knabbed at Target for less than $2. One of the gems is missing, but I'll just camouflage that with a little puffy paint.


My favorite gifts to receive are actually Christmas ornaments. I love hanging them up every year and having moments of nostalgia. This one if my favorite.


This one is an ornament I made while I was in college. I painted the outside of a glass ornament and filled it with fake snow.


Happy Crafting!

DIY Feather Ornaments

Hello World,

I have a confession. I love Christmas. I love the lights, decorating my tree, playing "Sleigh Ride" by the Spice Girls- pretty much everything involving Christmas. Maybe you can blame it on my past retail experience, but I am one of those crazy people that decorates for Christmas before Thanksgiving.

So with that, I have a very simple DIY project for you! Last weekend, my local Goodwill put out all of their Christmas decor, and I picked up some inexpensive glass ornaments. I already had feathers in my crafting stash, so this was a pretty inexpensive holiday project.

This project is great for creating ornaments to match your holiday decor palette, or could be great to give as a gift. Check out the instructions below:


1. Gather your supplies: glass ornaments, feathers, and scissors.

2. Remove the ornament topper.

3. Gently feed your feather into the glass ornament.

4. Trim feather if it is too long.

5. Replace the ornament topper and hang that baby up!

Happy Crafting!


Freebie Friday

Hello World,

I want to start a new weekly post, where I give away some freebies on Fridays. Whether it be a raffle for handmade goodies or digital freebies. Today, I have two fall-inspired phone backgrounds for you!

Download the full version here.

Download the full version here.


Anyone else sing this when they were younger?

Spring, summer, winter, fall,
But I think I love (insert favorite season) most of all.